If you are wondering how to take apart IKEA bed, the process is simple when done in the right order. Start by clearing the bed, removing slats, and then loosening bolts from the frame. Each IKEA model, like the Gursken bed frame or metal frames, may have slight differences, but the core steps stay the same. Keep your tools ready, store screws safely, and avoid rushing.
This guide will walk you through everything in a clear and easy way. You will learn the right steps, avoid common mistakes, and understand when to handle it yourself or call for help. By the end, you will feel confident taking apart your bed without damage or stress.
What You Need to Know Before You Take Apart an IKEA Bed
Before you begin, take a moment to understand how IKEA beds are built. Most IKEA bed frames use simple hardware like bolts, wooden dowels, and metal brackets. These parts are designed to be assembled and disassembled without damage if handled properly.
It helps to look at your original manual if you still have it. If not, do not worry. Most IKEA beds follow a similar structure. Whether you have a gursken bed frame or a metal frame, the process is usually straightforward.
You should also give yourself enough time. Rushing often leads to stripped screws or broken parts. A calm and steady approach will make everything easier.
Common Mistakes People Make When Taking Apart an IKEA Bed

Many people jump into the process without planning. This often leads to small mistakes that create bigger problems later.
One common mistake is removing bolts in the wrong order. This can cause the frame to shift or fall apart suddenly. Another issue is losing screws. IKEA beds use specific hardware, and losing even a few pieces can make reassembly difficult.
People also try to force parts apart. This can damage wood or bend metal frames. Beds like the ikea metal bed frame assembly types require gentle handling, not force.
A better approach is to move step by step. Keep parts organized and never rush.
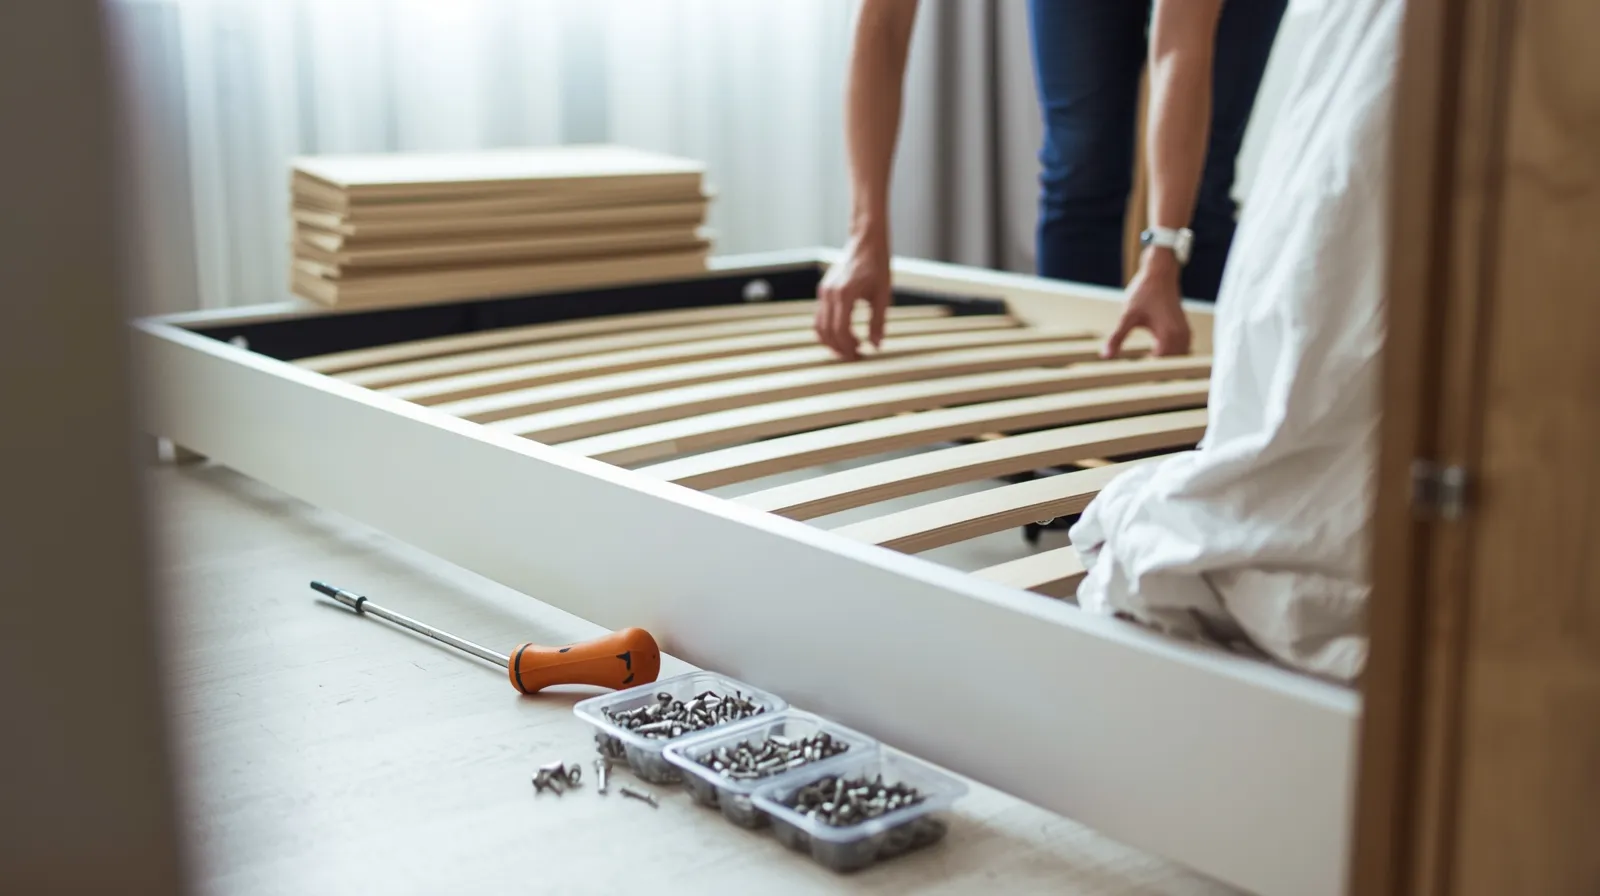
Tools You Will Need to Take Apart an IKEA Bed Frame Safely
You do not need many tools, which is one reason IKEA furniture is so popular.
Here is what you should have ready:
-
Allen key, often included with the bed
-
Flathead or Phillips screwdriver
-
Small container or bags for screws
-
Soft cloth or gloves to protect your hands
Most IKEA beds, including the ikea twin bed frame assembly and ikea queen bed frame manual models, rely on Allen bolts. So having the right size Allen key is important.
Keep everything within reach before you start. This saves time and prevents frustration.
Step by Step Guide on How to Take Apart IKEA Bed Bed Frame
Start by removing the mattress. Place it aside in a safe and clean area. Then take off the slats carefully. Most slats are either loose or connected with fabric straps.
Next, locate the side rails. These connect the headboard and footboard. Use your Allen key to loosen the bolts slowly. Do not remove all bolts at once. Work on one side at a time.
After that, remove the center beam if your bed has one. Beds like the ikea king bed frame assembly often include a center support for stability.
Finally, detach the headboard and footboard. At this stage, the frame will come apart into manageable pieces.
This step by step method keeps everything stable and reduces the chance of damage.
How Taking Apart an IKEA Bed Differs by Bed Type and Design

Not all IKEA beds are built the same. Some differences can change how you approach the process.
Wooden frames, like the ikea gursken bed frame, often use dowels and hidden bolts. These need gentle handling. You should avoid pulling parts apart too quickly.
Metal frames are usually lighter but may have tighter bolts. The ikea metal bed frame assembly types often require extra care when loosening screws.
Children’s beds, like the ikea busunge bed disassembly, may include additional safety parts. Always check for hidden screws or locks.
Understanding your bed type helps you avoid mistakes and makes the process smoother.
IKEA Gursken Bed Frame Disassembly Tips for a Smooth Process
The ikea gursken bed is a simple and popular choice. Its design makes it easier to take apart compared to more complex models.
Start by removing the slats and mattress. Then focus on the side rails. These are usually secured with visible bolts. Use your Allen key and loosen them evenly.
The headboard may feel tight due to wooden joints. Do not force it. Gently wiggle it until it comes loose.
If you still have the ikea gursken bed frame instructions, keep them nearby. They can guide you through the exact order.
Taking your time with this model will prevent damage and make reassembly easier later.
IKEA Gjora and Busunge Bed Disassembly Differences You Should Know
The ikea gjora bed disassembly process is slightly different because of its design. It has a more open frame and decorative structure. You may need to remove additional connectors before separating the main parts.
The ikea busunge bed disassembly is designed for children, so it often includes safety features. These parts must be removed first before you move to the main frame.
Both beds require careful attention to detail. Look for hidden screws and avoid forcing any section apart.
Knowing these differences will save you time and help you avoid confusion.
What to Do With Screws and Parts While Disassembling an IKEA Bed

Keeping track of screws is very important. Even a small missing piece can make reassembly difficult.
Use small bags or containers to store screws. Label them if possible. For example, you can separate parts from the headboard and side rails.
Some people tape screws to the parts they belong to. This simple trick can save time later.
If you are working with models like the ikea gursken bed frame instructions, organizing parts will make reassembly quick and stress free.
Stay organized from the start, and you will avoid problems later.
When to Call a Professional Instead of Taking Apart an IKEA Bed Yourself in Oakville Ontario
Sometimes, it is better to get help. If your bed feels stuck, damaged, or too heavy, calling a professional can save time and prevent injury.
Large beds, like those based on the ikea king bed frame assembly, can be difficult to handle alone. Tight bolts or worn parts may also create challenges.
If you are moving or short on time, professional help ensures everything is done quickly and safely.
In these situations, working with experts like Handyman Oakville Ontario can make the process simple and stress free.
Reassembly Tips After Taking Apart Your IKEA Bed Frame
After disassembly, you may want to store or reassemble the bed later.
Keep all parts together in one place. Store screws in labeled bags. Keep the manual safe if you have it.
When reassembling, follow the steps in reverse order. Start with the frame, then add support beams, and finally place the slats.
Check all bolts and tighten them properly. This ensures the bed remains stable and safe.
Taking a little extra care during storage will make reassembly much easier.
Need Help Taking Apart an IKEA Bed? Let Handyman Oakville Ontario Handle It
Taking apart a bed can seem simple, but it often takes more time and effort than expected. From tight bolts to heavy frames, small issues can slow you down.
Handyman Oakville Ontario provides reliable help for furniture disassembly. Their team handles everything carefully, making sure your bed stays in good condition.
Whether you have a gursken ikea bed or another model, professional support can save time and reduce stress.
Conclusion
Taking apart an IKEA bed does not have to feel overwhelming. With the right tools and a clear step by step approach, the process becomes simple and manageable. Start by removing the mattress and slats, then move on to loosening bolts and separating the frame carefully.
Different models, such as wooden and metal frames, may require slight adjustments in your approach. Staying patient and organized will help you avoid common mistakes and keep all parts safe for future use.
If you ever feel unsure or want to save time, getting professional help can make a big difference.
Need a quick and stress free solution? Reach out today and let experts handle the work for you so you can focus on what matters most.